So, you're thinking about trading in your red locks for a beautiful blonde? It's one of the most exciting hair transformations out there, but it's also one of the most demanding. This isn't a one-and-done salon visit; it's a journey. Getting this right means being patient, working with a skilled colorist, and committing to some serious aftercare.
Thank you for reading this post, don't forget to subscribe!Let's walk through what you can realistically expect when going from red to blonde.
What to Expect When Going From Red to Blonde
As a colorist, the red-to-blonde request is one I get all the time. It's also one that requires a very honest conversation from the get-go. Red hair molecules, whether you were born with them or got them from a box, cling to the hair shaft for dear life. We aren't just putting a new color on top; we're carefully stripping out that stubborn red pigment.
Think of this as a marathon, not a sprint. The dream of walking into the salon with fiery red hair and leaving as an icy platinum blonde in a single afternoon just isn't realistic. Trying to force it is the fastest way to cause serious, sometimes irreversible, damage. Instead, you and your stylist will be partners in a plan that likely spans a few months.
Here’s a quick overview of what the journey typically looks like.
Red to Blonde Transformation At a Glance
| Phase | Key Actions | Estimated Timeline | Average Salon Cost Range |
|---|---|---|---|
| Consultation & Prep | Hair health assessment, strand test, deep conditioning treatments. | 1-2 weeks before 1st session | $50 – $100 (often applied to first service) |
| Phase 1: Initial Lift | First bleaching session to remove the bulk of red pigment. Result is often a coppery or strawberry blonde. | 3-5 hours (First Visit) | $250 – $500+ |
| Phase 2: Gradual Lightening | Second (and possibly third) session to lift remaining orange/yellow tones. | 4-8 weeks after Phase 1 | $200 – $400+ per session |
| Phase 3: Toning & Refinement | Final lift to pale yellow, followed by toning to achieve the desired blonde shade. | 4-6 weeks after last lift | $150 – $300+ |
| Aftercare & Maintenance | Using bond-repairing products, regular toning glosses, and root touch-ups. | Ongoing | $50 – $150 per month (products + glosses) |
This table is just a guide, of course. Your exact timeline and costs will depend on your hair's history, health, and your ultimate blonde goal.
The Phased Approach to Blonde
The process is all about stages. Your first real appointment will focus on getting the most red out that we safely can. You'll likely walk out with a warm, coppery, or strawberry blonde. It's a beautiful color in its own right, and it's a crucial first step.
Your next appointments, usually scheduled 4-6 weeks apart, will keep chipping away at those warm tones. We’ll lift you through the orange and yellow stages until your hair is light enough—think the inside of a banana peel—to finally be toned to your target shade of blonde. This slow-and-steady method is non-negotiable for keeping your hair from breaking.
The honest truth is that patience is the most important tool we have. Rushing things with high-volume developers or overlapping bleach is a recipe for disaster. It leads to that dreaded "gummy" hair that has lost all its elasticity and shine.
Why Red Pigment Is So Stubborn
So, what makes red so tough? Red hair is packed with pigments called pheomelanin, which are much harder to break down than the eumelanin found in brown and black hair. This is why the process takes more time and more expertise.
Because this is such a common challenge, the professional hair industry has developed incredible products to help. We now have sophisticated lightening systems and amazing bond-repair treatments that are absolute game-changers for protecting the hair's integrity during a major color service. If you're interested in the science, you can explore more about hair color market trends and product innovations to see what's behind the magic.
Every step in going from red to blonde hair is a calculated one. A good stylist will constantly assess how your hair is responding and tweak their formulas along the way. It’s a demanding, beautiful process, and doing it right ensures your new blonde hair is as healthy as it is stunning.
How to Prepare Your Hair for the Transformation
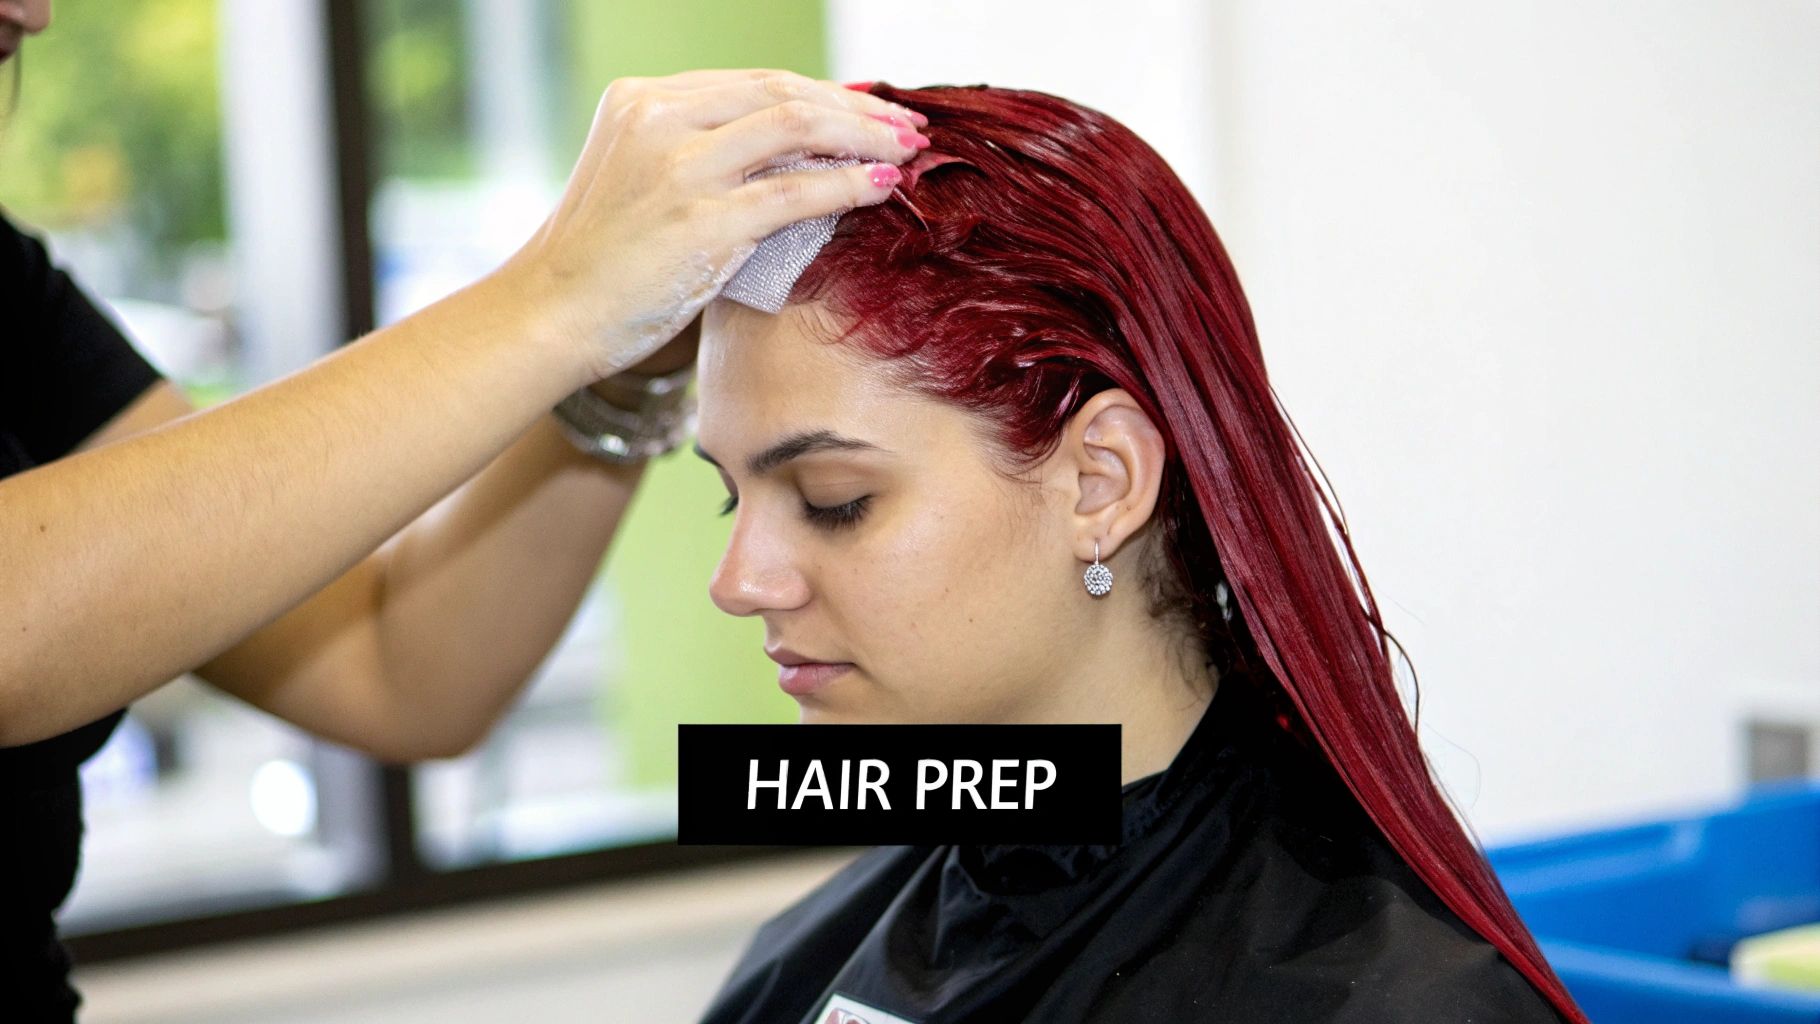
The success of your red-to-blonde journey really starts weeks before you even think about sitting in the salon chair. A healthy, resilient head of hair is the absolute best way to make sure it can handle the intense lightening process to come. I always tell my clients to think of it like training for a marathon—you wouldn't just show up on race day without any prep.
I generally recommend my clients start a pre-color care routine about four weeks before their first lightening session. This time is all about building up your hair’s strength and moisture, creating the perfect canvas for your stylist.
Build Strength With Protein and Moisture
Your main job during this prep phase is intensive conditioning. The idea is to fortify the hair shaft from the inside out, which makes it far less likely to break when the bleach is applied. The trick is to alternate between protein and moisture treatments.
- Week 1 & 3 (Protein): Grab a protein-rich hair mask. These treatments work by filling in the tiny gaps in your hair's cuticle, literally reinforcing its structure. Keep an eye out for ingredients like keratin or amino acids.
- Week 2 & 4 (Moisture): Switch to a deep conditioning mask focused on hydration. This pumps moisture back into the hair and improves its elasticity, stopping it from getting brittle and snapping.
This balanced approach is crucial because it keeps your hair both strong and flexible. Using too much protein can actually make your hair stiff and prone to breaking, while too much moisture can leave it feeling mushy or limp.
The strand test is your crystal ball for this entire process. It shows us exactly how your hair will lift, reveals any underlying stubborn pigments, and allows us to create a precise game plan. It’s a small step that prevents big surprises later on.
The Non-Negotiable Pre-Transformation Trim
Getting a trim before a massive color change isn't just a suggestion; it's essential. Split ends and other damaged bits are weak points that will only get worse during the lightening process. Snipping them off ensures the bleach is applied to the healthiest hair possible, which gives you a much more even lift and a cleaner result.
Honestly, even just an inch or two makes a world of difference. You're getting rid of the oldest, most fragile parts of your hair and setting the whole transformation up for success right from the start.
Cleanse and Protect Your Scalp
About a week before your appointment, it’s a good idea to use a clarifying shampoo. This gets rid of any product buildup—think silicones, oils, and styling gunk—that can get in the way of the lightener doing its job properly.
But after that one good clarifying wash, stop washing your hair for a few days before you come in. This lets your scalp’s natural oils (sebum) build up, and that creates a protective barrier against the bleach. It’s a simple trick, but it can make a huge difference in reducing scalp irritation during the service. Transitioning to a dramatic color like platinum actually requires similar prep work, and it's worth reading up on the important factors to consider before dyeing your hair platinum blonde if you're aiming for a very light result.
The Reality of the Lightening Process
Alright, this is where the magic—and the hard work—really begins. The lightening, or bleaching, stage is the most critical part of your journey from red to blonde. It’s a process that demands patience, a steady hand, and a solid understanding of what’s happening to your hair. We're not just slathering on some bleach and hoping for the best; we're strategically lifting out those stubborn red color molecules.
A professional colorist will start by mixing a lightener with a developer. The developer's strength, or volume, can range from 10 to 40, and it dictates how quickly and powerfully the hair will lift. For a delicate transformation like this, a stylist will almost always reach for a lower volume developer, like a 20 or 30 volume. This allows for a slow, controlled lift that minimizes damage.
This careful approach is precisely why so many people trust a professional. In the U.S., about 44 million women color their hair each year, and with blonde being a perennially popular choice, the complexity of this specific change is well-known. It's estimated that 20-35% of redheads aiming for blonde head straight to a salon rather than risking an at-home kit, because they know it’s a multi-step process that requires an expert touch.
Understanding the Stages of Lift
As the lightener gets to work, your hair isn’t going to magically turn blonde. It's going to go through a few… interesting… stages first. This is where you have to take a deep breath and "trust the process."
Your hair will first lift from red to a very bright, coppery orange. Don't panic! This is a completely normal and necessary step. From there, it will shift to a brighter orange-yellow, then a sunny yellow, and finally, a pale yellow—think the color of the inside of a banana peel. That pale yellow is our goal; it's the perfect clean canvas for a beautiful blonde toner.
One of the biggest mistakes people make is rinsing the lightener out too soon when they see the orange. That orange stage is unavoidable; it’s just the hair’s natural underlying pigment coming through. A seasoned stylist knows exactly how long to wait to get past it and achieve the right level of lift.
Here’s a look at how a stylist meticulously applies lightener section by section to get the most even lift possible.
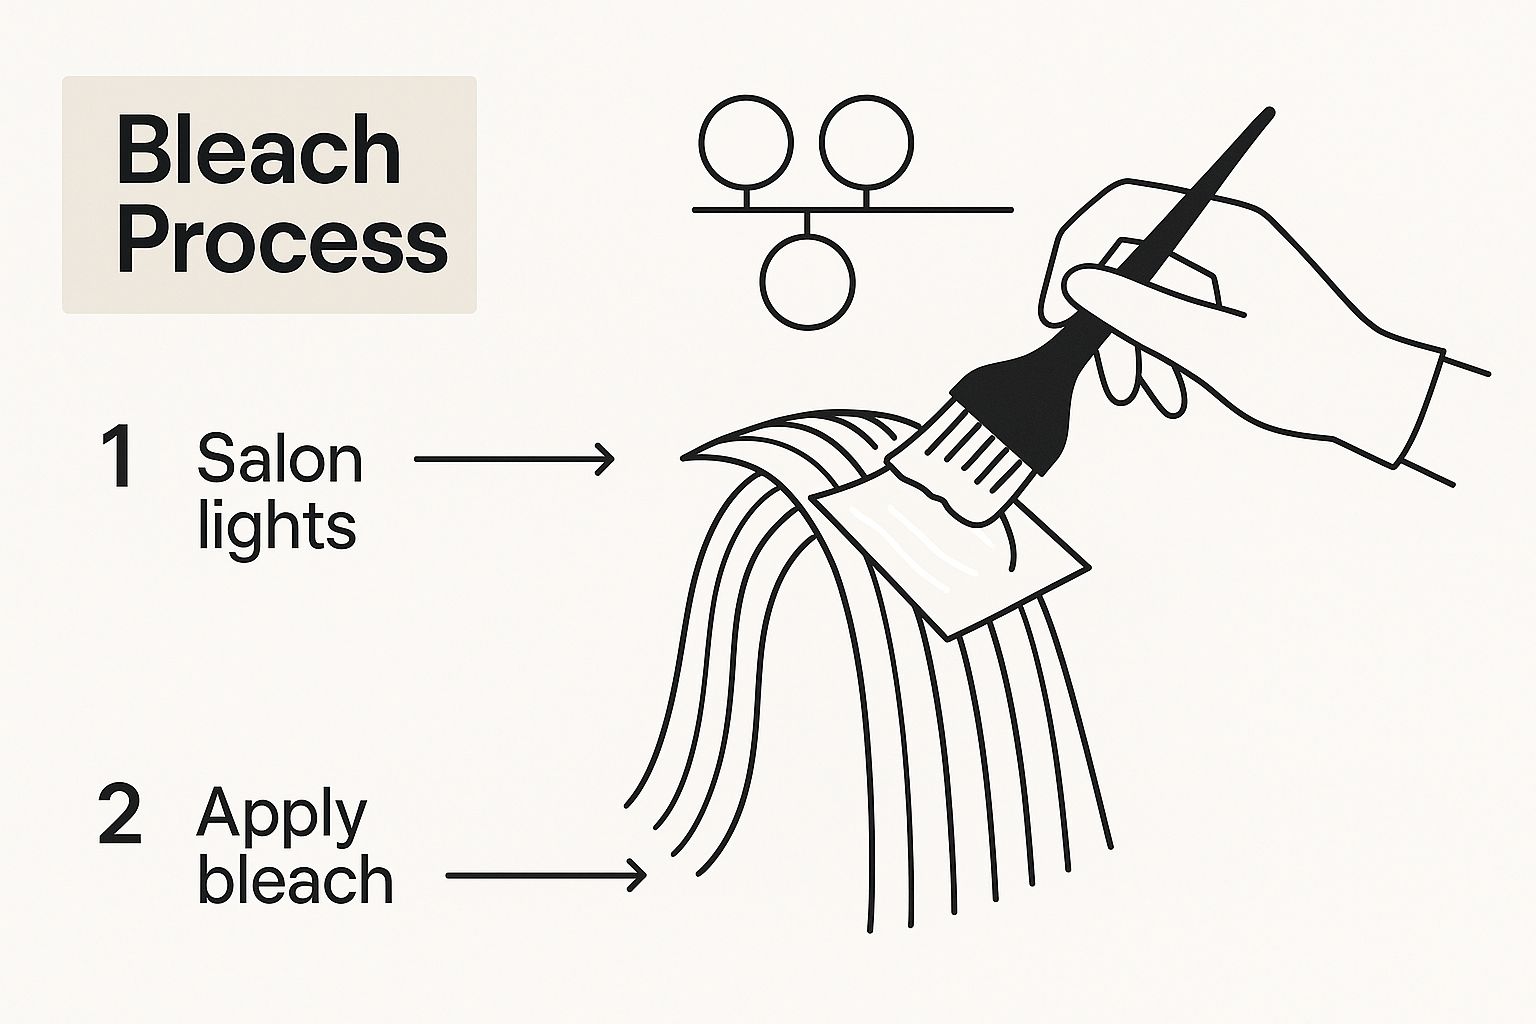
This kind of precise, careful application is key to avoiding patchy color and protecting your scalp from irritation.
Preventing Damage with Bond Builders
Let’s talk about the elephant in the room: damage. Bleaching has a reputation, but thankfully, modern hair technology has given us some incredible tools to protect your hair's integrity. Bond-building treatments, like Olaplex or K18, are non-negotiable game-changers.
These treatments are mixed right into the lightening formula and work on a molecular level. While bleach is breaking down the color pigments, it can also break down the disulfide bonds that give your hair its strength and elasticity. Bond builders go in and actively repair those broken bonds as the bleach is processing.
What does this mean for you? Your hair stays significantly stronger and healthier than it would with a traditional bleach service. It's the secret weapon that makes dramatic color changes possible without totally frying your hair. Of course, things can sometimes go sideways, so it’s always good to know a bit about how to remove bleach from hair just in case.
Ultimately, knowing what to expect demystifies the whole lightening process. It's a strategic journey, often over multiple sessions, that prioritizes the long-term health of your hair over a quick fix. Patience is your best friend here—it’s what will get you that stunning, healthy blonde you're dreaming of.
Getting the Tone Just Right: Your Perfect Blonde Awaits
Bleaching gets your hair into the right ballpark, but toning is what hits the home run. This is the real artistry. It’s the final, crucial touch that turns a raw, lifted canvas into the exact shade of blonde you’ve been dreaming of.
Honestly, without toner, you’re not really blonde—you’re just lightened.
When you lift color from red hair, you’re going to expose all those warm pigments underneath. Even after getting the hair to a pale yellow, you’ll still have brassy undertones that need to be dealt with. This is where a little bit of color theory becomes your best friend.
To neutralize any unwanted tones, we look to the opposite side of the color wheel. It's a simple concept with a huge impact.
-
For stubborn yellow tones: We reach for a violet-based toner. Since purple is the direct opposite of yellow, it cancels out that brassy hue, giving us a clean slate for cool, icy blondes.
-
For lingering orange tones: A blue-based toner is the answer. If you have some light coppery bits still hanging around, blue will neutralize them, pushing the color toward a more neutral or ashy finish.
This is exactly how stylists create those stunning platinum, ash, and cool beige blondes.
So, What Kind of Blonde Do You Want to Be?
This is where your inspiration photos become so important. Simply telling your stylist you want to be "blonde" is like telling a chef you want "food"—it’s just not specific enough!
When you show your stylist pictures of the exact color you’re aiming for, they can mix a custom toner formula to match it.
For example, if a warm, buttery, or honey blonde is what you're after, we won't be neutralizing all the warmth. Instead, we’ll use a toner that has golden or warm beige pigments in it. This enhances the warmth in a really controlled, deliberate way, giving you a rich, sun-kissed look instead of a raw, brassy one. The entire process of going from red to blonde hair hinges on getting this final step just right.
To make the right choice, you first need to identify the primary undertone you see after bleaching and then pick a toner color that directly counteracts it.
Here’s a quick guide to help you and your stylist decide on the best formula for your hair.
Choosing the Right Toner for Your Blonde
| Undertone to Neutralize | Toner Base Color | Resulting Blonde Shade Examples |
|---|---|---|
| Pale Yellow | Violet / Purple | Platinum, Icy Blonde, Silver, Cool Beige |
| Yellow | Violet-Blue | Neutral Blonde, Natural Beige, Ash Blonde |
| Gold / Yellow-Orange | Blue-Violet | Cool Ash Blonde, Medium Neutral Blonde |
| Orange | Blue | Ash Blonde, Dark Ash Blonde |
| Red-Orange | Blue-Green | Deep Ash Tones, Neutral Brown-Blonde |
| Red | Green | Neutral Dark Blonde, Lightest Brown |
This chart is a great starting point for understanding how toner works its magic to create a specific, polished blonde shade.
Your first toning session in the salon will be the most noticeable. But remember, toner isn't permanent—it fades over time. That’s why at-home care with purple shampoos and scheduling regular salon glosses are non-negotiable for keeping your blonde fresh.
The journey from red to blonde is a major one, often requiring multiple lightening sessions that can put a lot of stress on your hair. This has driven the industry to develop better, gentler products. Big brands are now creating specialized systems for complex color corrections, which you can read more about in this report on hair color product innovations. These give stylists the best possible tools to protect your hair’s health.
Ultimately, understanding how toner works helps you have a much more productive conversation with your stylist. You're not just asking to go lighter; you're collaborating to create the precise tone that makes your new blonde perfect for you.
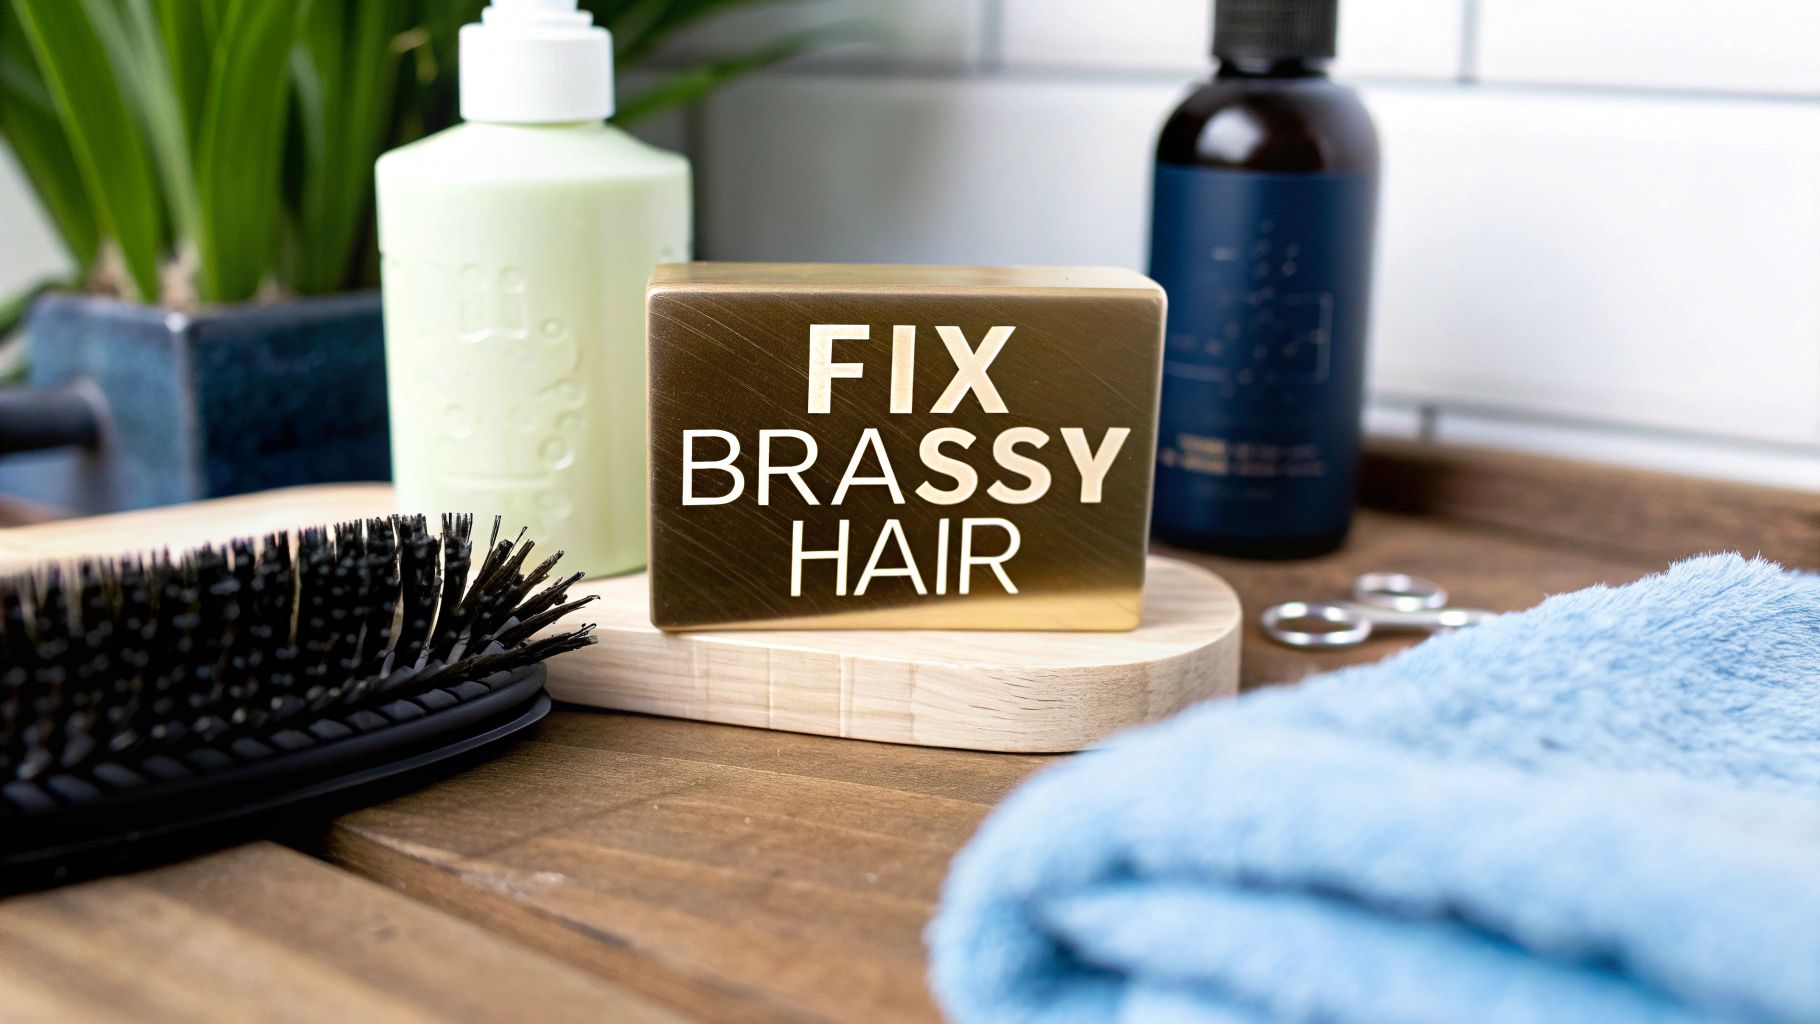
Keeping Your New Blonde Hair Looking Incredible
You’ve done it! After all the sessions and patience, your dream blonde is finally a reality. Now, the real work begins: preservation. Keeping that new color vibrant and your hair healthy means adopting a whole new aftercare routine. Honestly, the products you used as a redhead just aren't going to cut it anymore.
The process of going from red to blonde hair is intense, and it leaves your hair's cuticle layer wide open. This makes it incredibly porous, meaning it can lose moisture and color pigment much faster than before. Your new best friends are products made specifically for color-treated, lightened, or damaged hair.
Right off the bat, you have to swap out your shampoo and conditioner. I can't stress this enough—switch to a sulfate-free pair. Sulfates are harsh cleansing agents that will strip your toner and your hair's natural oils, leaving your beautiful blonde looking dull and feeling like straw.
Your New Blonde Haircare Arsenal
Think of your new routine as a simple system designed to put back everything the lightening process took out. Your hair is desperately thirsty for moisture, and it needs to be handled gently to prevent breakage and keep that perfect tone you worked so hard for.
Here’s what your weekly ritual should look like:
- Hydrating Shampoo & Conditioner: This is your foundation. I always recommend looking for formulas with ingredients like keratin, argan oil, or hyaluronic acid. These are fantastic for rebuilding strength and pumping moisture back into every single strand.
- Weekly Deep Conditioning Mask: This is absolutely non-negotiable. At least once a week, skip your regular conditioner and slather on a rich, intensive hair mask instead. Let it sit for a good 10-15 minutes—this gives it time to really sink in and repair the hair from the inside out.
- Purple Shampoo (But Use It Smartly): Purple shampoo is a lifesaver for kicking brassiness to the curb, but timing is critical. Overusing it can actually deposit too much violet pigment, which can make your blonde look murky or overly ashy. Start by using it just once a week, and only leave it on for 2-3 minutes before rinsing thoroughly.
A huge mistake I see people make is using purple shampoo like it's a regular daily cleanser. It’s not. It's a toning treatment. Always follow it up with a deeply hydrating conditioner or a mask to counteract its drying effects.
Protecting Your Investment from Everyday Life
Your gorgeous new color is more vulnerable than you think. Everyday things can quickly turn it brassy or cause even more damage. Heat is easily the biggest enemy of lightened hair. Before a blow dryer, curling iron, or flat iron gets anywhere near your head, you need to apply a quality heat protectant spray.
The sun and chlorine are two other major offenders. UV rays will fade your toner and suck the life out of your hair, while chlorine is notorious for giving blonde hair that dreaded greenish tint.
- If you know you'll be in the sun for a while, wear a hat or find a good UV protectant hair spray.
- Before hopping in the pool, get your hair wet with regular tap water and run some leave-in conditioner through it. This fills up the "space" in your porous hair so it can't soak up as much of that damaging chlorine.
Scheduling Your Salon Upkeep
To keep your blonde looking fresh and flawless, you'll need to book regular appointments with your stylist. Toner isn't permanent; it fades over time. Plan on coming in for a salon gloss every 6-8 weeks. A gloss is a quick, ammonia-free service that deposits fresh pigment to cancel out brassiness, adds incredible shine, and helps seal the hair cuticle.
As for your roots, that depends on how fast your hair grows and what your tolerance is for regrowth. Most of my clients come back for a root touch-up every 6-10 weeks. Maintaining dimensional color is an ongoing commitment, and you can learn more about it with these 5 ways to keep your balayage highlights looking amazing, as many of the same principles apply.
So, you're thinking about making the leap from red to blonde. It’s a big change, and it's totally normal to have a ton of questions before you dive in. Let's break down some of the most common things people ask so you know exactly what you're getting into.
How Many Salon Visits Will This Really Take?
This is probably the biggest question, and the honest answer is: it depends. The number of sessions we'll need is all about your hair's history and your ultimate blonde goals.
If you're a natural redhead, you're in a great spot. We can often lift your hair to a beautiful blonde in just 2-3 sessions.
But if your red is from a bottle—especially stubborn box dye—we have to be much more patient. This kind of color correction is a marathon, not a sprint. You're likely looking at 3-5 sessions, sometimes even more, to safely remove that artificial red pigment.
Remember, we need to schedule these appointments about 4-6 weeks apart. This isn't just to be difficult; it's crucial for giving your hair a much-needed break to rest and recover between lightening services. A good stylist will always be able to give you a clearer timeline after doing a strand test.
What’s the Total Cost to Go Blonde?
Going from red to blonde is a serious investment in your hair. It’s one of the more complex and time-consuming services a colorist performs, and the price tag reflects that expertise and time. Your total cost will vary based on where the salon is located, your stylist’s experience, and of course, how long and thick your hair is.
As a ballpark, you should plan to budget anywhere from $300 to over $1,000 for the entire process. This cost will be spread out over your multiple appointments. The best thing you can do is ask for a detailed price quote during your consultation so there are no surprises down the road.
Is This Going to Wreck My Hair?
Anytime you lighten hair, you're changing its structure, but that doesn't mean you have to end up with fried, damaged strands. A skilled colorist who takes a slow, steady approach is your best defense against damage. Rushing the process is what causes breakage.
The secret weapon here is using professional, high-quality products. We always work with lighteners that have bond-building additives like Olaplex to protect the hair's integrity from the inside out. Pair that with a great at-home routine—think deep conditioning treatments and masks—and you can absolutely keep your hair strong and healthy.
At Hairicc, we live for these kinds of complex color transformations and always put the health of your hair first. Book your consultation today, and let's start planning your journey to the perfect blonde.