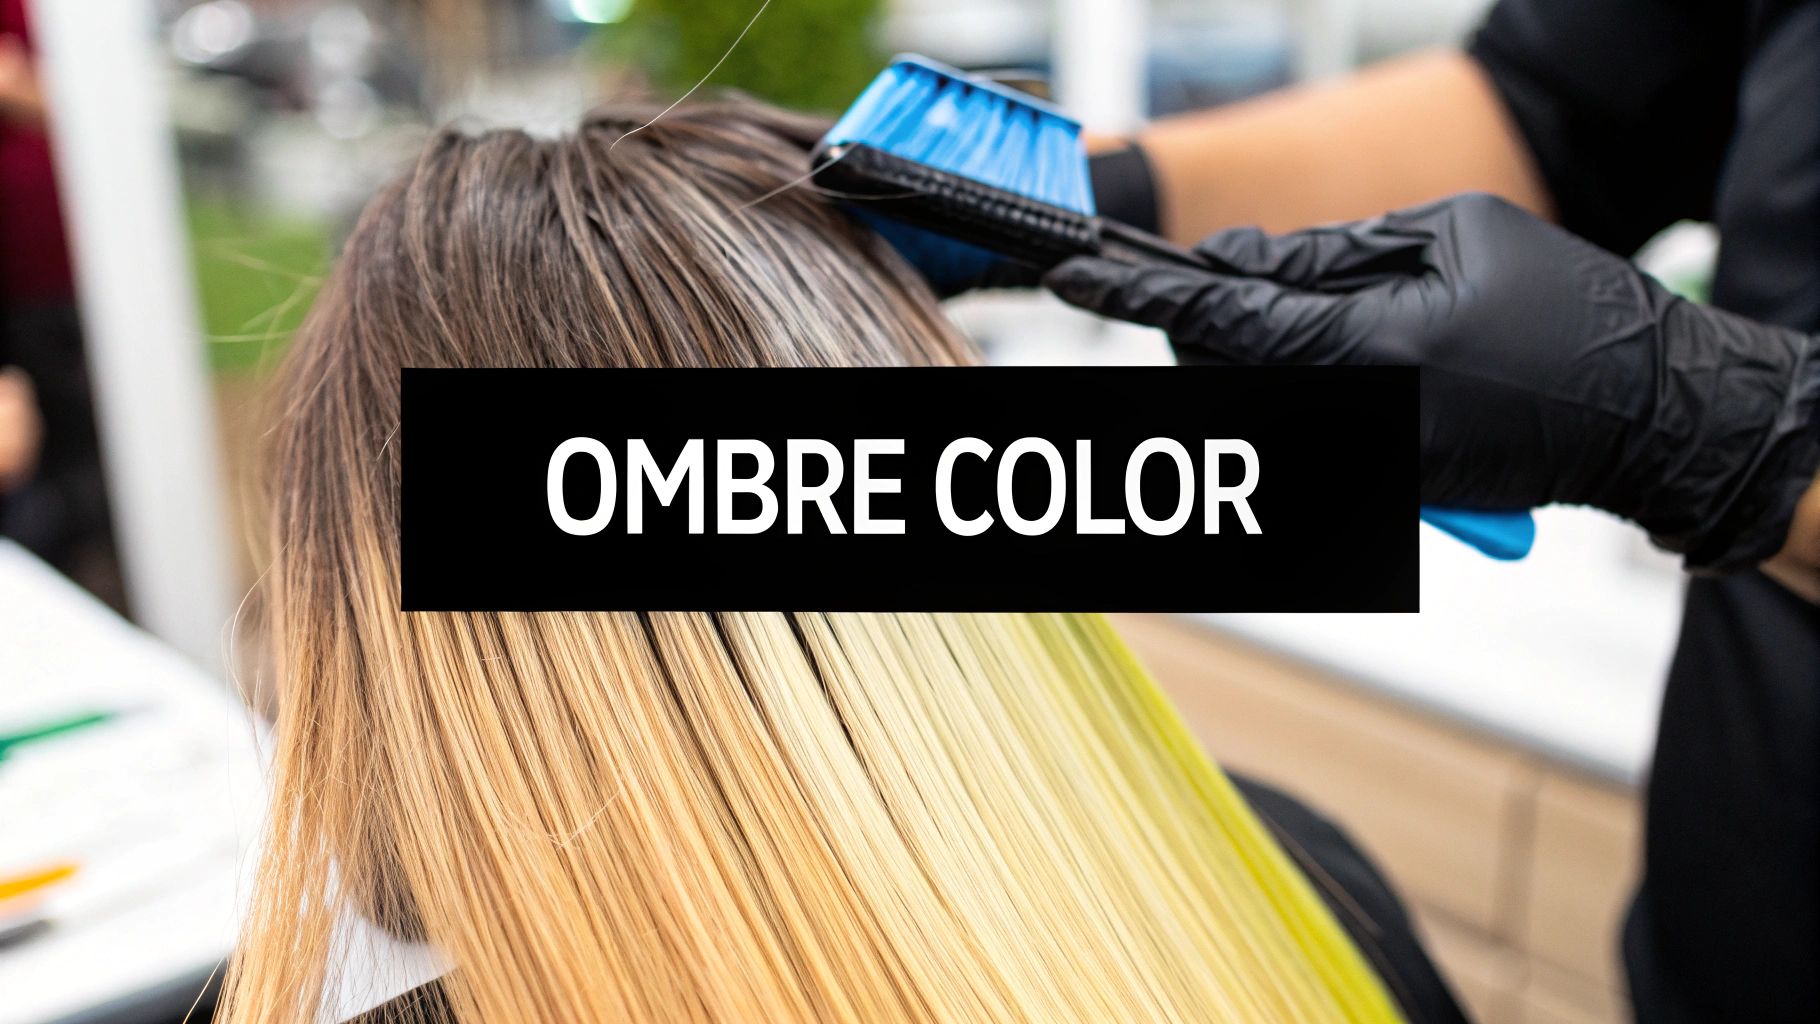
An ombre color is a beautiful, dramatic effect where one color gradually melts into another, most often going from a darker shade to a much lighter one. The best way to picture it? Think of a perfect sunset. That seamless fade from a fiery orange into a soft, dusky purple is exactly the kind of magic we're talking about with ombre.
Thank you for reading this post, don't forget to subscribe!The Core Concept of Ombre Shading
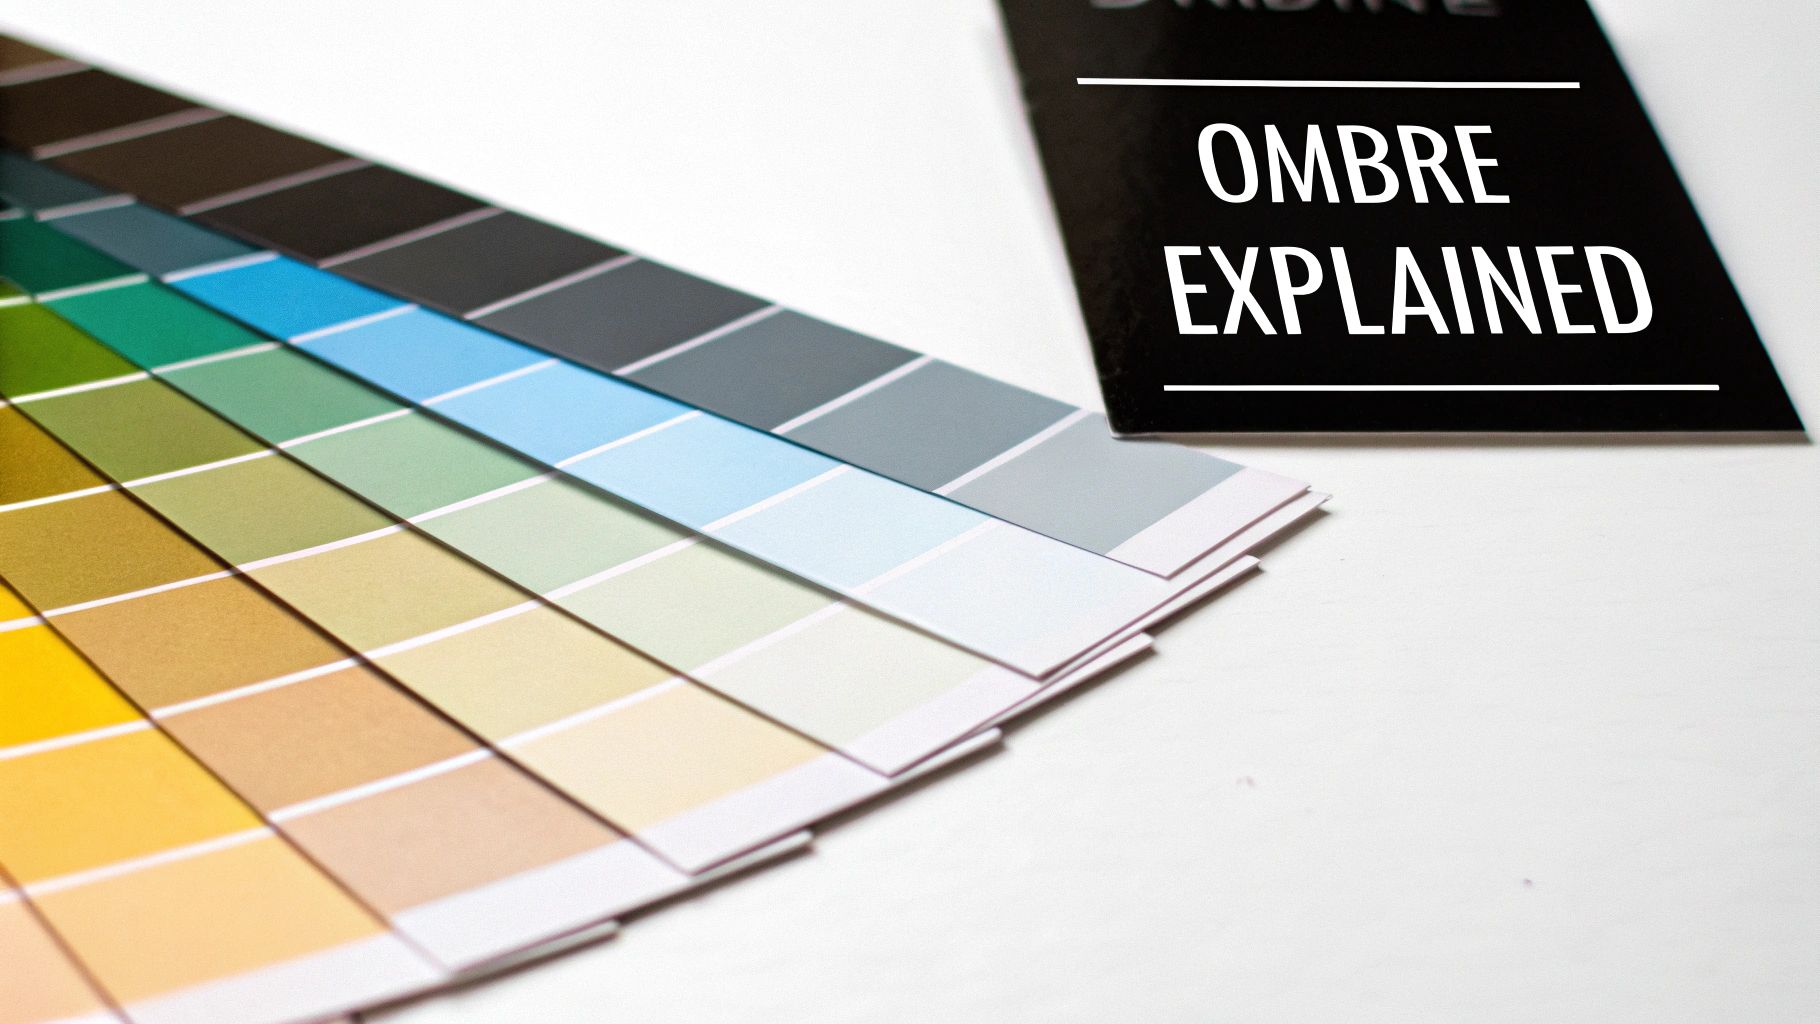
At its heart, ombre is all about a gradual blend. It’s a technique that creates a stunning, dimensional look by fading two distinct colors into each other without any harsh lines. And while we love it for hair, this idea isn’t new. It’s an artistic concept that shows up everywhere, adding depth and movement to fashion, home decor, and even cake decorating.
The name itself gives away its artistic roots. "Ombré" is a French word that means 'shaded' or 'shadowed,' which perfectly captures that smooth color transition. This aesthetic is everywhere in nature—from blooming flowers to vibrant rainbows—and was first adapted for textiles and design way back in the mid-1800s. You can actually see some cool examples of its history in design over at Revival Rugs.
Key Characteristics of the Ombre Effect
So, what really makes an ombre, an ombre? It’s more than just two colors. The beauty of the look comes from a few specific features that set it apart from other coloring styles like balayage or dip-dye.
To make it simple, we've broken down the core elements of the ombre look in this table.
Ombre at a Glance
| Characteristic | Description |
|---|---|
| Color Transition | The signature feature is a smooth, gradual fade from one distinct color to another. |
| Directional Flow | Traditionally, the color flows from a darker shade at the top (roots) to a lighter one at the bottom (ends). |
| Low Maintenance | Because the root area stays dark, grow-out is much less obvious, meaning fewer trips to the salon for touch-ups. |
| Visual Depth | The gradient effect creates dimension and movement, making your hair look fuller and more dynamic. |
This table gives you the basics, but it's the artistry that truly defines a great ombre.
The magic of ombre is in its subtlety and flow. A well-executed ombre shouldn't have a visible starting or ending point for the color change; it should feel like a natural, effortless transition.
Once you get this foundational concept, you can really start to see how versatile it is. While the classic dark-to-light look is what most people picture, the principles of ombre can be used in so many creative ways. From a soft, sun-kissed "sombré" to a bold fantasy color melt, it all comes back to that same core idea: a beautiful, seamless blend.
Where Did the Ombre Trend Come From?
You might think of ombre as a modern salon staple, but its story started long before it ever touched a single strand of hair. This isn't some fleeting trend that popped up in the last decade; its roots are surprisingly deep, beginning with fabric, not follicles, all the way back in 19th-century France.
Before it became a hair coloring phenomenon, the French word ombré—meaning “shaded”—was all about textiles. As the Industrial Revolution kicked into high gear, new manufacturing techniques made it possible to create fabrics with incredible, graduated color schemes. Weavers and dyers in Europe perfected the art of creating these beautiful, seamless transitions, and the look became a massive hit for everything from clothing to home decor.
From the very beginning, ombre was a mark of sophistication. Whether it was on a delicate silk ribbon or a set of heavy, luxurious drapes, that gradual shift in color added a kind of depth and richness that a single, flat shade just couldn't match.
From Textiles to High Fashion
As the decades rolled on, ombre gracefully stepped out of the living room and onto the runway. Designers in the world of high fashion fell in love with its artistic flair, but it was the 1970s that really gave the trend a new lease on life.
That era was all about free-flowing, expressive style, and ombre fit right in. Designers used it to bring bohemian dresses to life and add a visual pop to disco-era outfits. The slow fade of color was the perfect complement to the free-spirited vibe of the time, adding a sense of movement and an almost dreamlike quality to the clothes. It was official: ombre had cemented its place in high fashion.
Ombre is more than just a technique; it’s storytelling with color. The way one shade melts into another can create a mood—from the soft whisper of a pastel fade to the bold drama of a high-contrast blend.
It’s this very versatility that has kept it from ever truly disappearing. Instead of fading away, the core idea has simply been reimagined by new generations of artists, designers, and, eventually, hairstylists.
The Modern Beauty Boom
Ombre finally made its grand entrance into the world of hair in the early 2000s, and it was nothing short of an explosion. Once celebrities started showing up on red carpets with that iconic dark-to-light gradient, it instantly became one of the most-requested looks in salons everywhere. The appeal was undeniable.
So, what made it catch on like wildfire? Ombre hair managed to be both effortlessly cool and incredibly practical.
- It delivers a major impact without the all-or-nothing commitment of a full color change.
- It's famously low-maintenance. The darker root area means you can go longer between appointments, as the grow-out is soft and natural.
- It's completely customizable, working beautifully with every shade imaginable, from sun-kissed brunettes to vibrant fantasy colors.
This wasn't just a comeback; it was a total reinvention. The same principles that were born in those French textile mills centuries ago were now being used to create personal, expressive hairstyles, proving that a simple, beautiful transition of color is truly timeless.
Exploring Popular Ombre Hair Variations
One of the best things about ombre is just how versatile it is. The basic idea is always a gradual color fade, but that simple concept opens the door to a nearly endless range of creative styles. It’s what allows us stylists to craft a look that’s perfectly you—from something soft and sun-kissed to a look that’s unapologetically bold.
Getting to know the different variations is the first real step to figuring out which one you’ll love. Each style has its own vibe, playing with how the color is placed and how intense it is to create a totally unique result.
The Classic Dark to Light Ombre
This is the one that started it all. When you picture "ombre," this is probably what comes to mind: natural, dark roots that seamlessly melt into lighter, brighter ends. Imagine a rich espresso brown fading into a warm caramel, which then gives way to a beautiful, sunny blonde.
It’s so popular because it mimics the way your hair would naturally lighten in the sun, which gives it this effortlessly chic look that’s still a head-turner. We find this classic approach is especially gorgeous for people with naturally dark hair, since we can use your base color to create something high-impact that’s still surprisingly low-maintenance. The gradient adds incredible dimension and movement, making it look amazing on both straight and curly hair.
The Bold Reverse Ombre
For anyone who likes to break the rules, the reverse ombre literally flips the script. Instead of the classic dark-to-light flow, this edgy take starts with light roots and transitions into deep, saturated ends. Think platinum blonde at the scalp fading down into a dramatic chocolate brown or even a pure jet black.
Let's be clear: this is a statement look. It’s going to require more upkeep than a traditional ombre because that root regrowth is much more noticeable against the light base. But if you’re after a high-fashion, dramatic aesthetic, the visual payoff is huge. It’s also a fantastic way for natural blondes to play with darker shades without having to commit to a full head of dark color.
A reverse ombre is a deliberate, artistic move. It pushes back against the conventional flow of color, creating a stunning contrast that’s both unexpected and incredibly cool.
The Soft and Subtle Sombré
If the classic ombre feels a bit too bold for your style, its softer cousin, the sombré, might be your perfect match. The name says it all—it's a "soft ombre." With a sombré, you get a much more subtle and beautifully blended transition between the shades.
Here’s what makes it different:
- Lower Contrast: The color shift from roots to ends is only a few shades, giving you a more natural, "lived-in" feel.
- Higher Blend: The fade is much more diffused. It often starts higher up, and we weave delicate lighter pieces through the mid-lengths so there's no obvious transition line.
This technique is perfect for anyone trying out color for the first time or for those who just prefer understated elegance. It adds just enough dimension to make your hair look fuller and more dynamic without feeling like a drastic change. The massive popularity of ombre hair coloring owes a lot to styles like the sombré. Its adaptability works for so many hair colors, from natural tones to fun fantasy shades, making it a go-to in beauty markets across the United States and Europe. You can learn more about its incredible appeal in this guide to ombre hair from Hair.com.
The Vibrant Fantasy Ombre
Ready to really have some fun? A fantasy ombre is where we get to play with vivid, unconventional colors. This is where your imagination can truly take over. We could melt dark roots into a deep sapphire blue, fade a fiery magenta into a delicate pastel pink, or transition a deep forest green into a zesty lime.
This style is all about making a bold, personal statement. The technique is the same—it’s all about that gradual blend—but the color palette is completely up to you. It's a phenomenal way to show off your personality and creativity. We especially love seeing fantasy ombres on curly hair, as every twist and coil catches the light and makes those multi-tonal effects pop.
Ombre vs. Balayage and How to Tell the Difference
This is probably the number one question we get from clients, and honestly, it’s easy to see why there’s so much confusion. Both ombre and balayage give you gorgeous, dimensional hair color, but the way they get there—and the final result—are completely different.
Let’s clear this up right away. The simplest way to think about it is this: ombre is the final look, while balayage is the technique.
A stylist can use a balayage technique to create an ombre effect, but not every balayage is an ombre. Think of it like this: "balayage" (a French word that means "to sweep") is how a stylist freehand paints highlights onto your hair. "Ombre" is the name for that distinct, graduated style where hair transitions from a darker root to a lighter end.
The Defining Visual Differences
So, how can you spot the difference in the wild? It really comes down to the direction and placement of the color.
An ombre gives you a clear, almost horizontal, transition from dark to light. It’s a much more dramatic and saturated look, where the entire bottom section of your hair is lightened fairly uniformly.
Balayage, on the other hand, creates softer, more natural-looking vertical highlights. Because the color is hand-painted, you get that perfectly imperfect, sun-kissed vibe. The highlights are blended seamlessly, mimicking the way your hair would lighten naturally after a long summer outdoors.
This graphic really puts into perspective how the ombre concept has been adopted, with hairstyling being its most famous application.
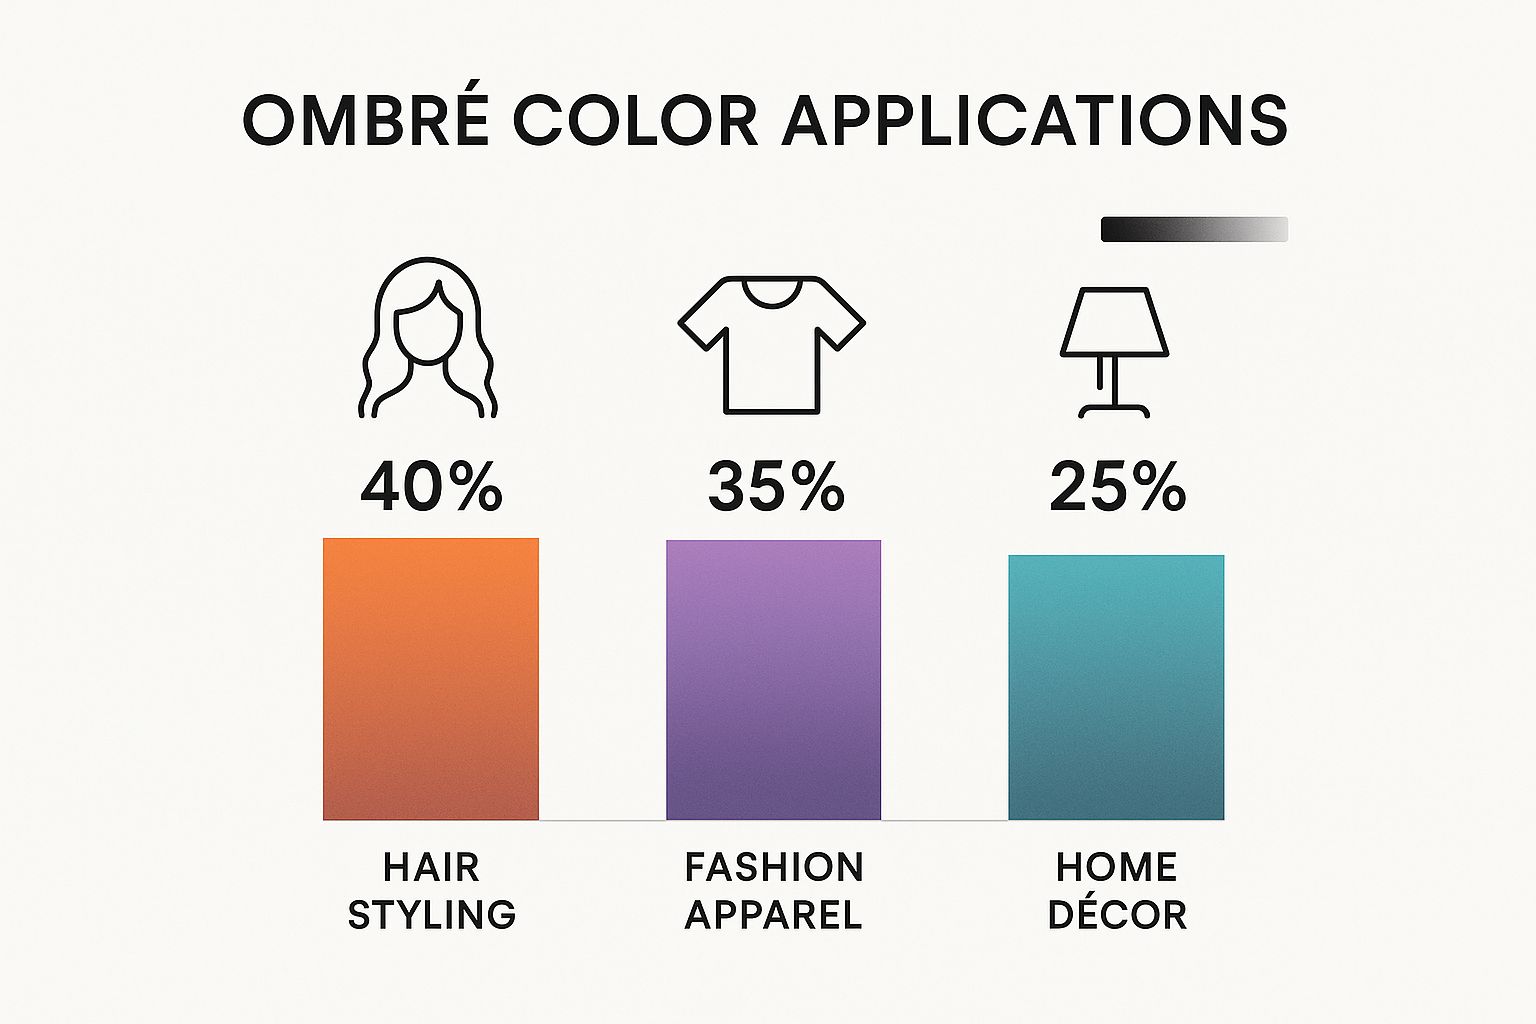
Since it's so popular in the hair world, it's crucial for clients to know what they're asking for when they sit in our chairs.
A Head-to-Head Comparison
To make it even clearer, let's put these two side-by-side. Knowing these key differences will help you walk into your next appointment feeling confident you can ask for exactly what you want. If you're still on the fence, our detailed guide on ombre and balayage hair is a great resource to help you make the final call.
Here’s a quick cheat sheet to help you distinguish between the two.
Comparison Ombre vs Balayage
| Feature | Ombre | Balayage |
|---|---|---|
| Final Appearance | A more dramatic, horizontal color gradient. The shift from dark roots to fully lightened ends is distinct and intentional. | Soft, vertical, sun-kissed highlights. The look is more blended and natural, with lighter pieces woven throughout the hair. |
| Application Process | Color is applied horizontally and saturated from the mid-lengths to the ends. Stylists may use foils to achieve a brighter lift. | Lightener is hand-painted onto the hair's surface in a sweeping motion. This is a true freehand technique that usually doesn't involve foils. |
| Maintenance Level | It's quite low-maintenance because the roots stay dark. However, the distinct line can look harsh as it grows out, sometimes requiring touch-ups. | The ultimate low-maintenance color. The highlights are so soft and blended that they grow out seamlessly without any harsh lines. |
| Ideal Hair Types | Looks amazing on everyone, but the gradient really pops on straight or wavy hair where the transition is most visible. | Absolutely stunning on wavy and curly hair. The painted highlights dance with the hair's natural texture and movement. |
At the end of the day, it's all about what you're trying to achieve with your look.
If you’re after a bold, fashion-forward statement with a clear color fade, ombre is definitely for you. But if you’re dreaming of a soft, natural, "I just got back from the beach" style that’s incredibly easy to maintain, then balayage is the technique you’ll want to ask for.
What to Expect During Your Ombre Appointment
https://www.youtube.com/embed/1KbTdiRK8-k
Walking into the salon for a big color change like ombre should be exciting, not nerve-wracking. A little insight into the process can take the mystery out of it, so you can just look forward to the big reveal. Let's walk through what you can expect when you’re in the chair with a professional stylist, from the first chat to the final, gorgeous result.
Think of the whole thing as a creative project between you and your stylist, and it all starts with the most important part: the consultation.
The All-Important Consultation
Before a single drop of color is mixed, your appointment kicks off with a good, old-fashioned conversation. This is where your stylist gets to understand exactly what you're dreaming of and, just as importantly, gets to know your hair. You'll chat about your hair's history (past colors, treatments, the works), your day-to-day routine, and what you ultimately want to see in the mirror.
Bringing inspiration photos is a huge help. Seriously. A picture is worth a thousand words and makes sure you're both on the same page. Point out what you love—maybe it's the seamlessness of the blend, the exact shade on the ends, or where the color starts to transition. Your stylist will then check out your hair's current condition, texture, and natural shade to map out a plan that will get you to your goal without compromising its health. If you have curls or waves, this is the perfect time to talk about how the color will play with your pattern. For more tips on that, check out our guide on how to style curly hair.
Your consultation is a creative partnership. It’s where your inspiration meets our expertise to design a custom ombre color that’s uniquely yours.
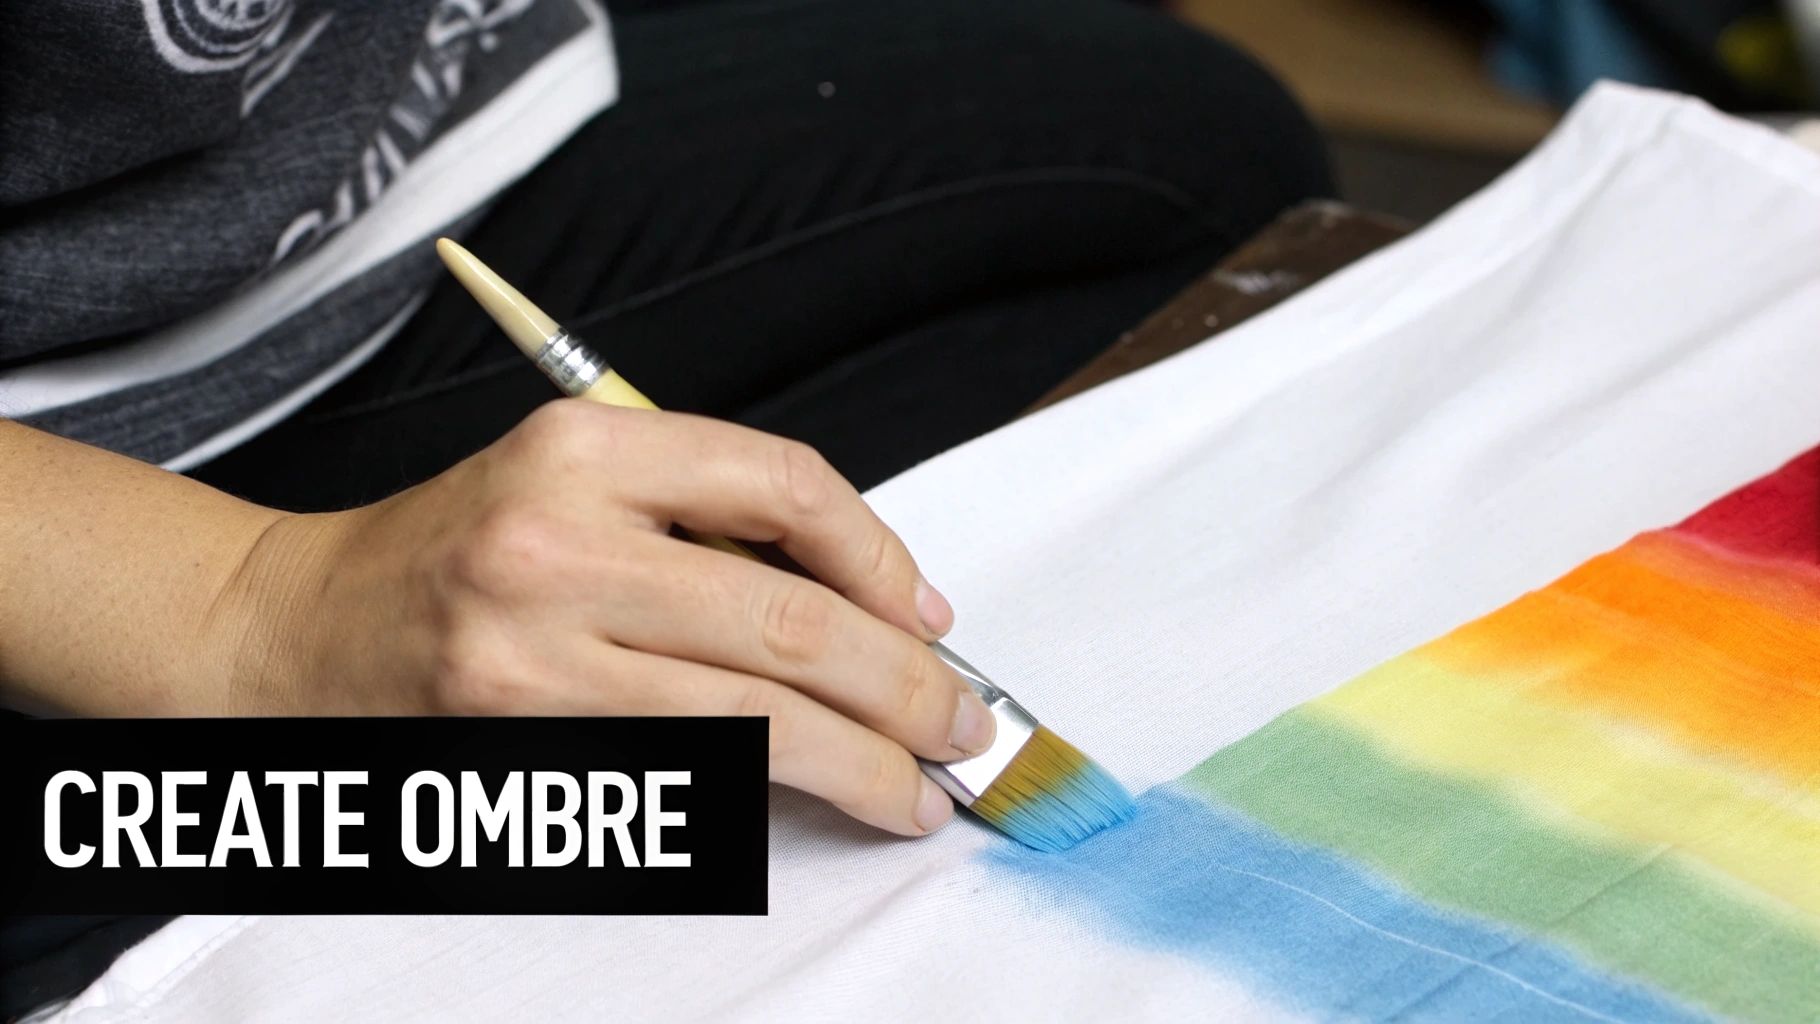
The Technical Application Process
Once you've got a game plan, the fun really starts. Getting that perfect, seamless blend is a meticulous process that takes a skilled hand. While every colorist has their own little tricks and techniques, the fundamental steps are pretty much universal.
Here’s a general idea of how it goes down:
- Custom Color Formulation: Your stylist will mix a lightener and color formula specifically for your hair. This is totally custom—it's all about lifting your hair to the right level safely and effectively.
- Sectioning the Hair: Precision is everything. Your hair will be carefully sectioned off. This ensures the color goes on evenly and the transition line is consistent all around your head.
- Applying the Lightener: This is where the artistry comes in. The lightener is applied to the mid-lengths and ends using a specific technique—often backcombing or feathering—to create that soft, diffused gradient. This is the secret to avoiding any harsh, obvious lines.
- Monitoring the Process: While the lightener is doing its thing, your stylist will be watching your hair like a hawk, checking how it’s lifting and making sure it stays strong. Keeping your hair’s integrity is the #1 priority. This processing time can take anywhere from 20 to 45 minutes, sometimes longer, depending on your starting color and hair type.
The Finishing Touches
After the lightener is rinsed, you're not quite done. There are two final steps that really dial in the look, leaving your hair polished, healthy, and vibrant.
First up is toning. A toner or gloss is applied to the lightened hair to get the color just right. This is what cancels out any unwanted brassy orange or yellow tones and gives you those beautiful cool ashes, buttery blondes, or rich caramel shades you were aiming for.
Finally, your stylist will likely apply a deep conditioning treatment to put moisture back into the hair and seal everything in. This is what gives you that silky, super-shiny finish. After a great blowout, you'll be ready for the final spin in the chair to see your brand-new ombre.
How to Maintain Your Ombre Hair Color
So, you’ve left the salon with that gorgeous, sun-kissed ombre. Now, how do you keep it looking just as stunning weeks later? One of the best things about ombre is how forgiving it is. Because it works with your natural root color, you can officially break up with the constant cycle of touch-ups that a full-color job requires.
But let's be clear: low-maintenance isn't the same as no-maintenance. The lightened ends of your hair have been through a lot, and they need a little extra care to stay vibrant, healthy, and free of that dreaded brassy tinge. A solid aftercare routine is all it takes to keep your ombre looking fresh for months.
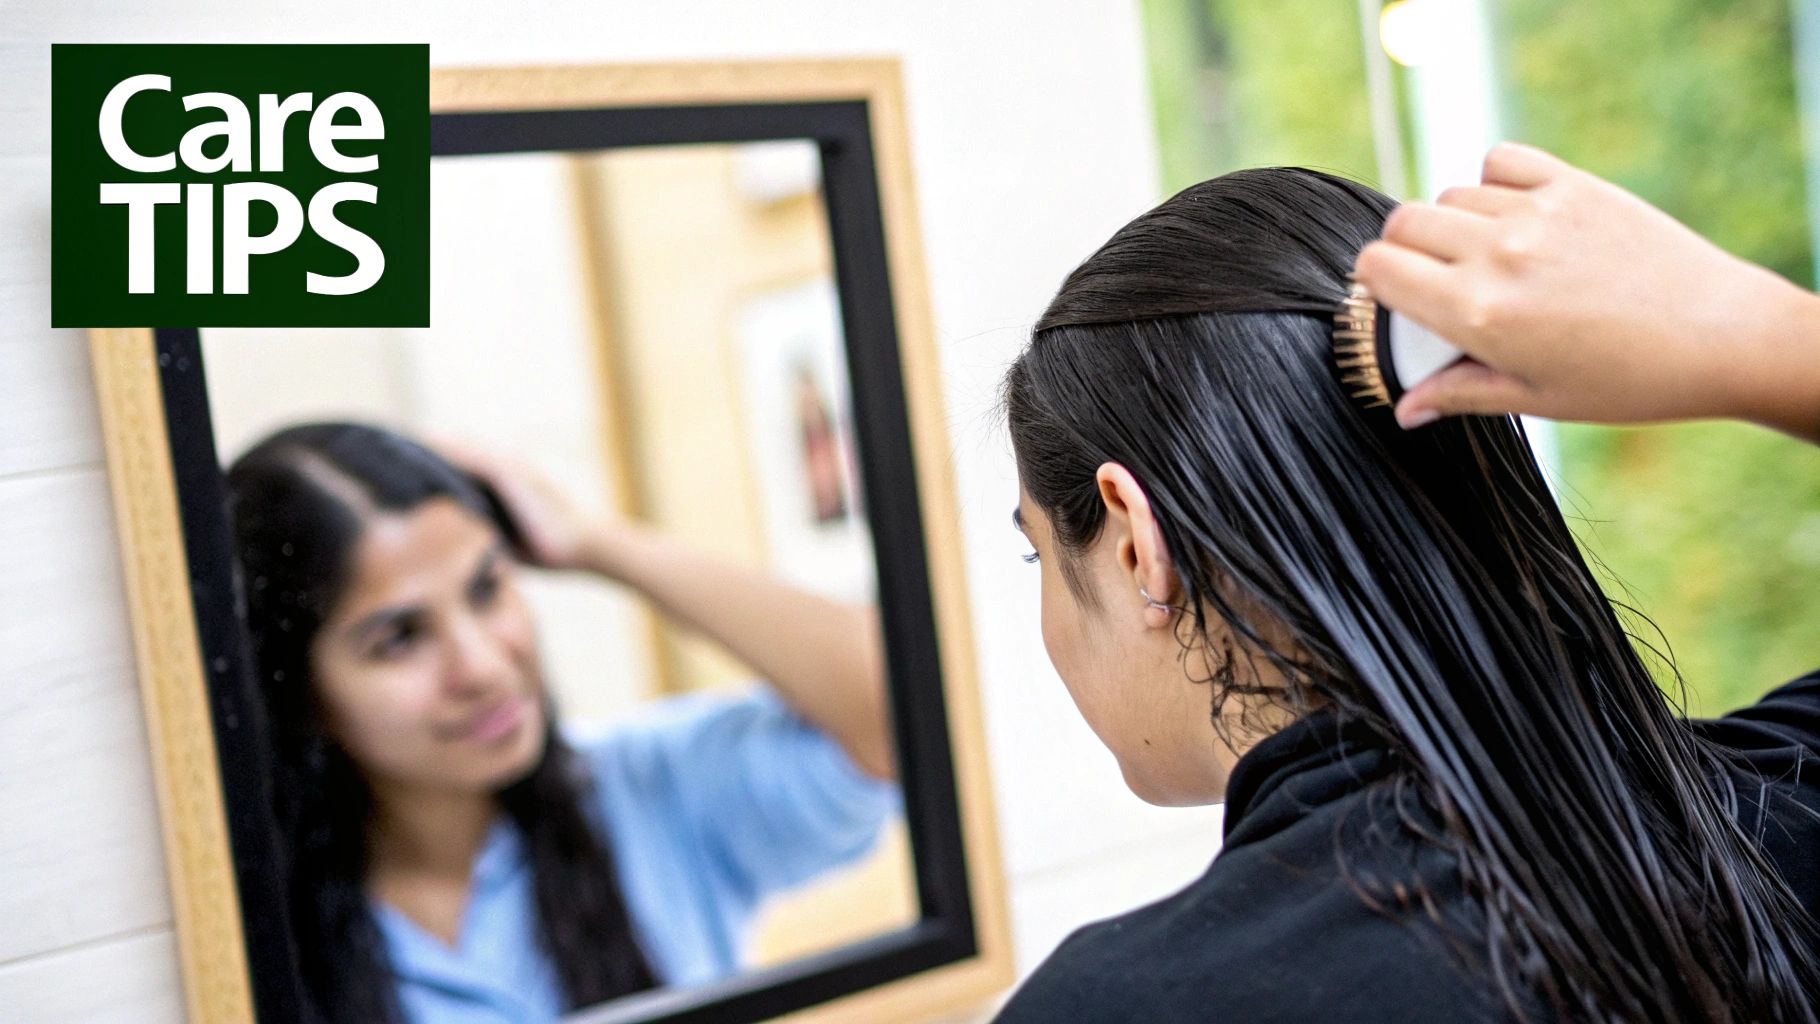
Your Essential Aftercare Toolkit
Think of your hair care routine as an insurance policy for your color. The single most important thing you can do is switch to the right products. Your old shampoo and conditioner probably won't cut it anymore, especially if they contain harsh sulfates that can strip away both color and moisture.
Here’s what your new lineup should look like:
- Sulfate-Free Shampoo: This is non-negotiable. Sulfates create a satisfying lather, but they’re too aggressive for processed hair and will cause your beautiful color to fade way too fast.
- Color-Safe Conditioner: Find a formula specifically made to lock in color molecules while delivering a heavy dose of hydration. This is key to keeping your ends from feeling brittle.
- Purple Toning Products: If you have blonde or light brown in your ombre, a purple shampoo or mask is your secret weapon. Using it once a week will neutralize any unwanted yellow or orange tones, keeping your color perfectly cool and crisp.
- Heat Protectant Spray: Heat is public enemy number one for hair color. Before you even think about reaching for a curling iron or straightener, spritz on a quality heat protectant to create a barrier.
A great at-home routine is your first line of defense in preserving your color's integrity. The right products will not only protect your investment but also improve the overall health and shine of your hair.
Smart Habits for Lasting Color
Beyond the products you use, a few small tweaks to your habits can make a huge difference. For starters, try to wash your hair less often. This helps preserve your color and your hair’s natural oils. Dry shampoo will become your new best friend for stretching the time between washes.
Protecting your hair from the elements is another game-changer. The sun's UV rays can fade your color just like they damage your skin. Pop on a hat on super sunny days or use a UV protectant spray, particularly in the summer. This is even more critical for curly hair, which tends to be more prone to dryness. For more tips, check out our guide on how to keep your curls healthy during summer.
Scheduling Your Salon Visits
The real beauty of ombre is how gracefully it grows out. You don't have to worry about a harsh demarcation line, which is why it's such a popular, low-key look.
While you won't need to book root touch-ups every month, popping into the salon periodically is the key to keeping your ombre in peak condition.
- Toning Gloss: We recommend coming in for a toning gloss or glaze every 6-8 weeks. It’s a quick service that instantly refreshes your color, kicks brassiness to the curb, and adds a ton of shine.
- Trims: A light trim every 8-12 weeks is essential. This snips off any split ends before they have a chance to travel up the hair shaft, preserving the health and beauty of your lightened sections.
Common Questions About Ombre Hair Color
As you get closer to booking that appointment, a few final questions are probably bouncing around in your head. That’s completely normal. Committing to a new color is a big deal, and we want you to feel 100% confident.
We’ve heard every question imaginable in our salon chairs, so we’ve gathered the most common ones right here. Think of this as your final sanity check before diving into your gorgeous new look.
How Much Does Ombre Hair Usually Cost?
This is always the big question, and for good reason! The truth is, there's no single price tag. The final cost for an ombre really depends on your salon's location, your stylist’s experience level, and the unique length and thickness of your hair.
Generally, you can expect the price to land somewhere between $150 and $400+. To get a number that’s specific to you, the best move is always to book a consultation. Your stylist can take a look at your hair, hear your goals, and give you a precise quote.
Remember, investing in a skilled colorist is investing in the health of your hair. That price tag isn't just for the color; it's for the expertise to get you there safely and beautifully.
Will an Ombre Treatment Damage My Hair?
Since ombre involves lightening your ends, there’s no getting around some change to the hair cuticle. But does that mean it will be "damaged"? Not in the hands of a pro. A seasoned colorist at CODEsalon uses top-tier products and techniques specifically designed to keep your hair’s integrity intact.
What you do at home is just as important, though. Sticking to a routine of deep conditioning treatments, using a good heat protectant, and washing with color-safe products will make all the difference in keeping your hair healthy, shiny, and strong.
Can You Get an Ombre Style on Short Hair?
Absolutely! The classic image of ombre might be on long, beachy waves, but this look is incredibly versatile. It can look just as stunning on bobs, lobs, and even pixie cuts.
For shorter styles, the transition is often softer—what we sometimes call a "sombré." A skilled stylist knows exactly how to place the color to complement your specific cut, adding amazing dimension and a modern pop to any length.
How Long Does an Ombre Hair Appointment Take?
Beautiful color takes time, so settle in and get comfortable. How long you’ll be in the chair depends on your hair's starting point (its current color, length, and density) and how dramatic you want the final result to be.
On average, you should block out anywhere from 2.5 to 5 hours. This gives us time for a thorough consultation, the color application itself, processing, toning, a final conditioning treatment, and of course, the finishing style.
Ready to bring your dream ombre to life? The expert stylists at Hairicc specialize in creating custom color that celebrates your unique texture and style. Book your consultation with us today and let's start planning your beautiful transformation.